Before you can begin creating schedules, you'll need to setup a few things first. Follow this guide to get setup correctly.
Step 1: Adding Employees
Go to Settings > Locations > Edit the Location you'd like to add a User to.
From there, go to Staff and then Add New.

Step 2: Time Periods
Time periods are used to help organize and label shifts. For instance, you might have a time period named "AM" for morning shifts to fall under.
From the Scheduler, click Settings.
Then go to More Actions and click Time Periods.
Click Add New to create a new Time Period.

Step 3: Adding Positions
Go to Settings and choose Company. Click More Actions and go to Concepts.
Edit the Concept you'd like to add positions to. Click Add Position.
To assign positions to employees:
Go to Settings and choose Locations. Edit the Location in question.
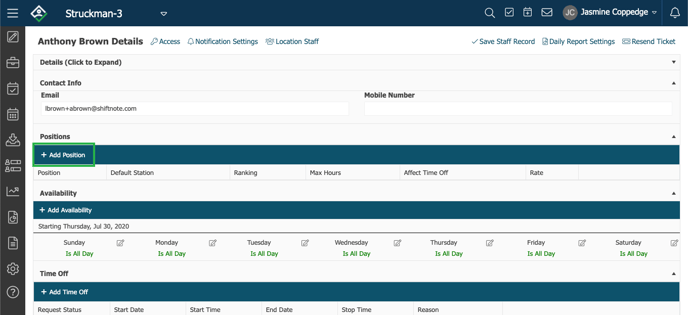
Then go to Staff and Edit an employee. You can assign Positions, Availability, Time Off, and Certifications from here.
Step 4: Shifts
The shifts you create will be used to build the schedule later on. You'll be able to drag and drop them on the days that you'd like - so make sure to set them up correctly!
From the Scheduler, click Settings

Then go to Shifts

Click Add New

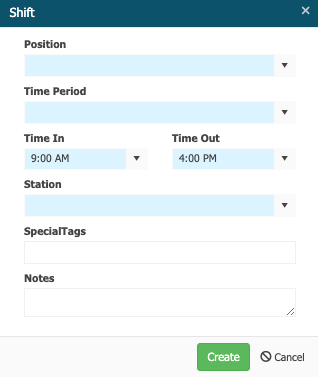
Fill in the shift details and click Create to finish

Step 5: Building the Schedule
Watch this quick tutorial on how to use the Scheduler:
Once you publish a schedule, employees will be notified via email or text (depending on their notification settings). They'll then be able to login into their account and view the schedule anytime!
Check out this article to learn about approving dropped and swapped shifts
Employee View of a Published Schedule
Here's what employees will see:
Employees have the ability to release or swap a shift. After another employee picks it up - it needs manager approval to be accepted. Employees are responsible for their original shifts until a manager accepts the change.
